For all AS67 series NAS, before adding or removing M.2 SSDs, please read the following notes carefully.
- NAS and M.2 SSDs utilize high precision components and electronic connector technology. To avoid voiding the warranty during the product warranty period, we recommend that you:
✓ Please use two identical models of SATA 3 interface or PCIe (NVMe) interface for best access performance.
✓ If you are not familiar with upgrading your computer's M.2 SSD, do not install the M.2 SSD yourself.
- Adding or removing M.2 SSDs on your own can cause NAS failures or accidents due to broken slots and modules or misconnections. In this case, repair costs will apply.
- Be careful not to cut your fingers on the sharp edges of the NAS's M.2 SSDs, internal components, or circuit boards.
- ASUSTOR does not guarantee that third-party M.2 SSDs will be compatible with NAS.
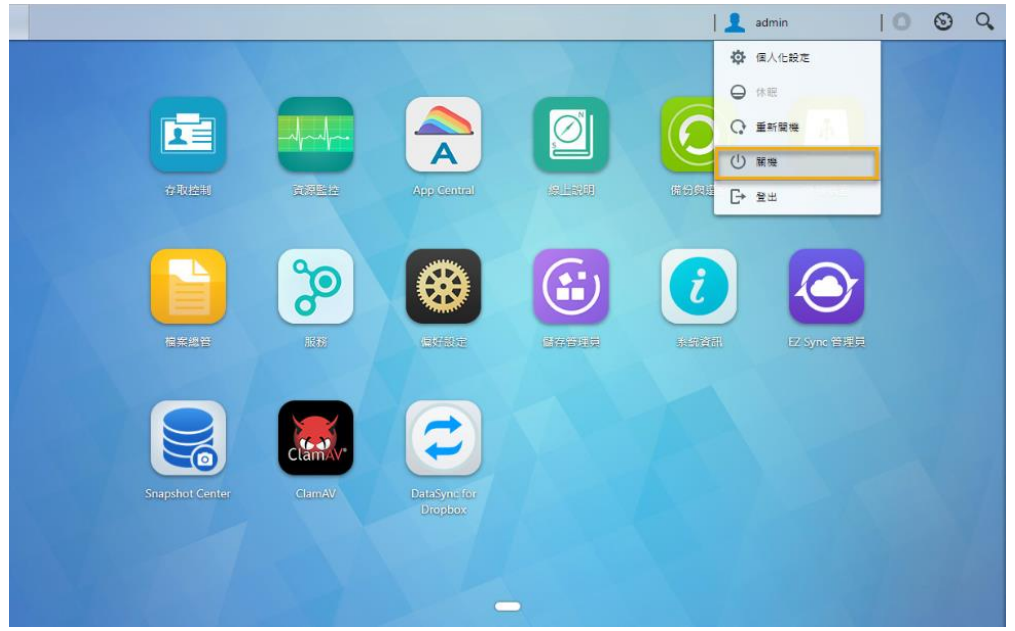
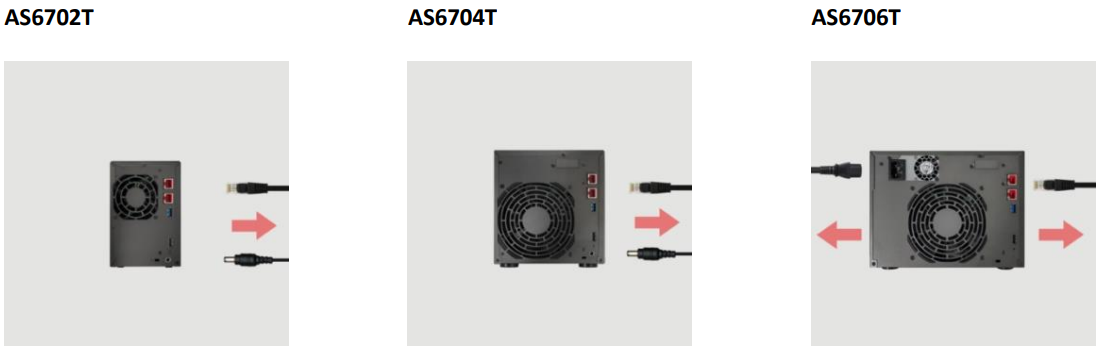
- Before adding or removing an M.2 SSD, be sure to turn off the NAS and peripherals, and disconnect all accessories and cables.
- To prevent damage to your M.2 SSD from electrostatic discharge, follow the instructions below:
✓ Avoid using your computer in areas that tend to generate static electricity, such as carpeting.
✓ Before adding or removing an M.2 SSD, eliminate static by touching metal objects outside the NAS. Do not touch the metal parts inside your computer.
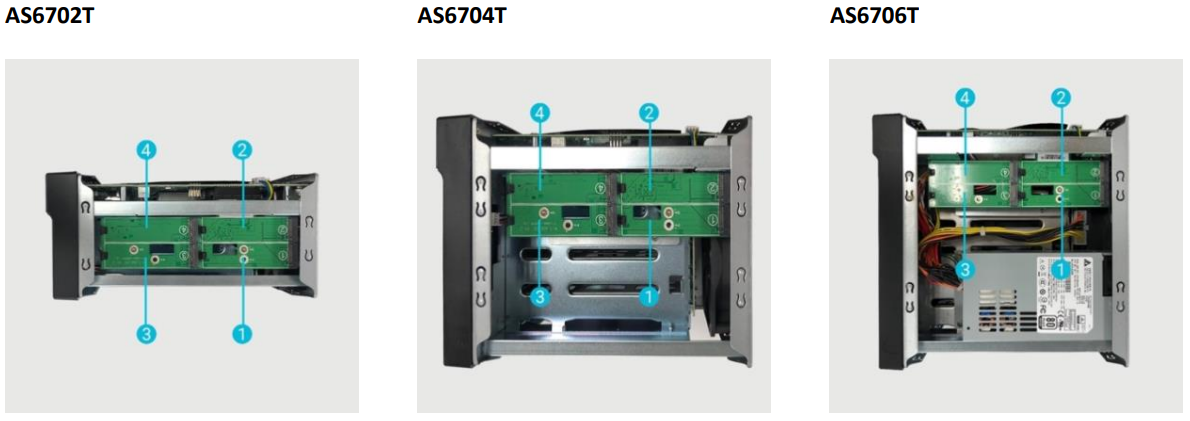
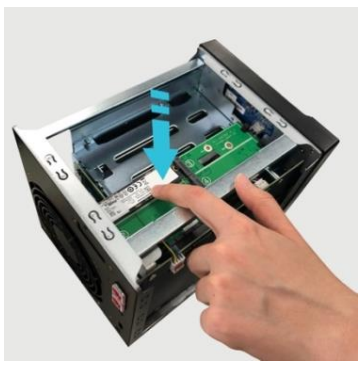
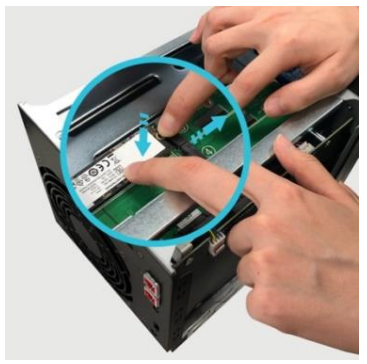
- When inserting the M.2 SSD into the slot, do not misdirect it. Doing so may damage the module or the slot, or even cause a fire on the circuit board.
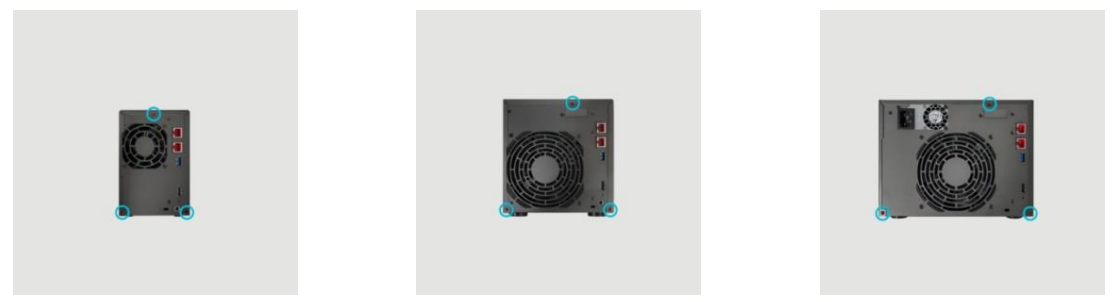
- Use a screwdriver that matches the size of the screw.
- Do not remove or loosen screws not designated for removal.
Preparation Tools