Before Installation
To simplify the process of selecting compatible hard disks, ASUSTOR has tested hundreds of popular models and has listed them here:
Go to Compatibility
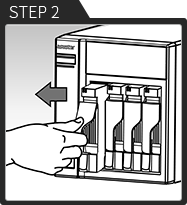
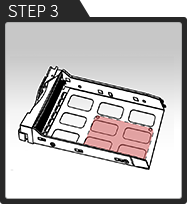
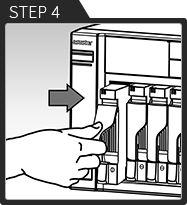
Hardware Installation
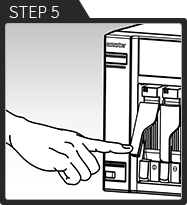
Get a Phillips head screwdriver ready and follow the Quick Install Guide to complete the installation. You may download the guide
Quick Installation Guide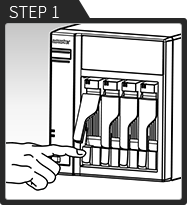

Power and Network
- You have connected the power and network cables
- Your computer and NAS are both connected to the same network
- The NAS network LED indicator is lit
After hard disks have been installed, please confirm that:
| LED Indicator | Color | Description | State |
| Power | Blue |
Steadily lit Flashing |
Power on Waking from sleep mode (S3) |
| System Status | Green Blue |
Flashing Steadily lit |
Powering on System ready |
| Network | Blue | Steadily lit | Network port connected |
| Hard Disk | Green | Steadily lit Flashing |
Hard disk ready Data access in progress |
Let's get started
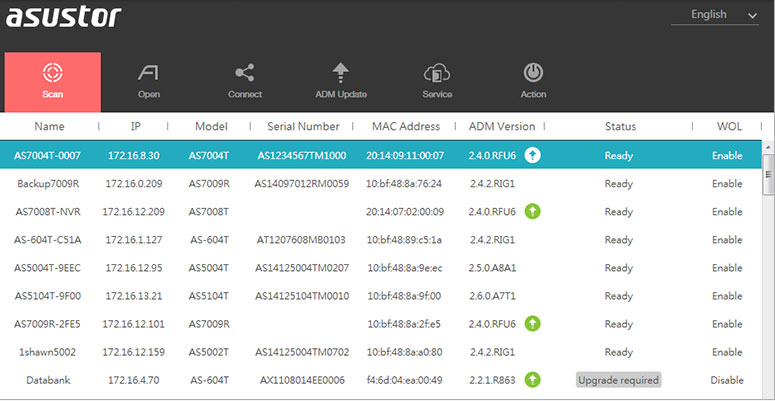
1. Install the Control Center utility on your PC or Mac to find and configure your NAS within the local area network.


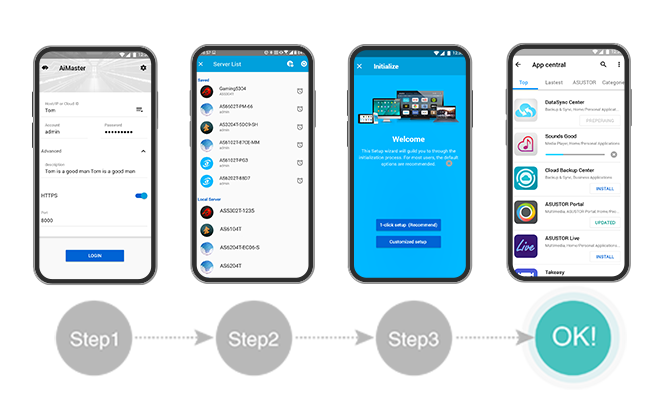
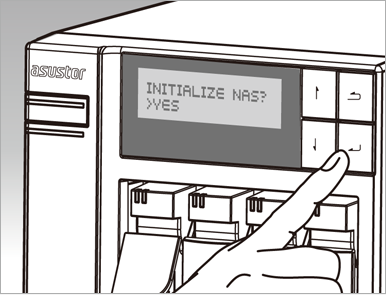
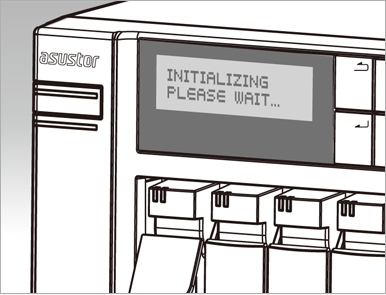
3. You can also use LCD display on your NAS to configure it. (Support depends on model in use)
Get to know your ASUSTOR
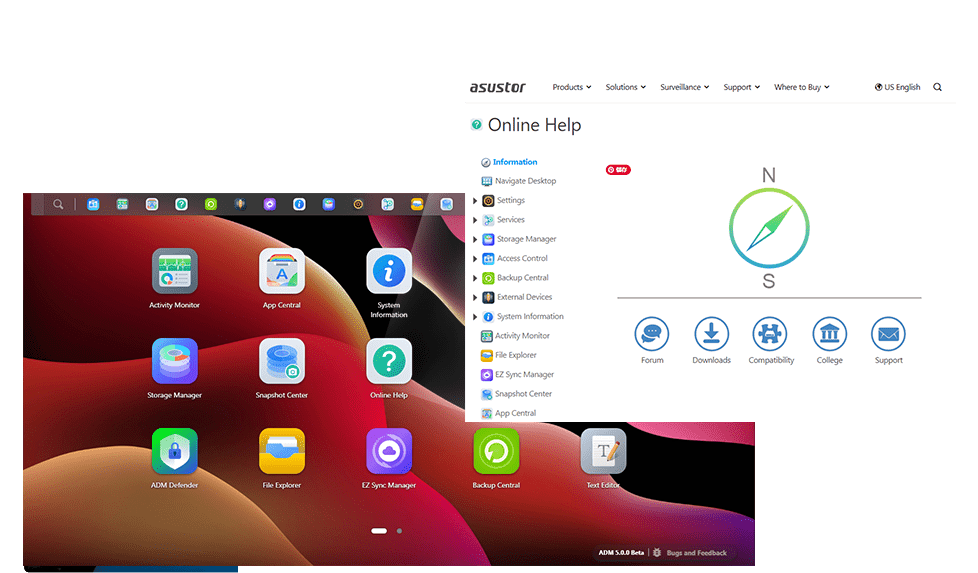
Welcome to your new NAS. You will find the Online Help icon on the ADM desktop, which will introduce you to the basic functions of the NAS. To learn more about ASUSTOR NAS features, please click
ASUSTOR College FAQThe ASUSTOR Community
Join the conversation, share tips, news and ideas with other ASUSTOR users from around the world
Go to Forum
Customer Care
At ASUSTOR we value each and every one of our customers and are devoted to providing you with the best customer service around. Please feel free to submit any questions or concerns about our products here.
Go to Online Support Form